

Fun with Letters!
While your 3-year-old probably isn’t ready to write a full sentence (or even a single word), there are several activities you can do to help him/her get ready for writing.
A couple of days ago, Micah started showing interest in Language. I observed that he repeated the sounds of the letters quite often and he found “spelling” and “writing” his name very entertaining. Since my sandpaper letters were all packed away in a box somewhere in storage, I decided to introduce him to the Movable Alphabet instead. I had purchased this for him on our recent trip to the Philippines and it was conveniently stored in one of our luggages. (The Movable Alphabet is a box with 28 compartments, one for each letter of the alphabet. The box contains stiff cut-out letters. The vowels are blue and the consonants are red. You can purchase it from Amazon or other Montessori websites. They come in script as well.) I was also able to use household items to supplement and reinforce each lesson in a tactile way.
Here are the following simple, household, budget-friendly ideas that you may want to try with your toddlers and preschoolers to encourage their love for language!
1. Sensory Letter Tracing
Materials: grounded coffee beans, salt, cornmeal, wide container (old food take out trays!), big pen or marker
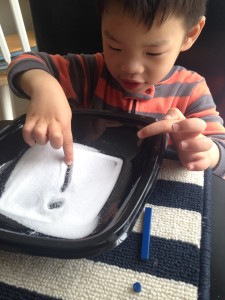
First, Micah says the sound of the letter then traces the letter from the movable alphabet box (for example the letter “I” — see below). He then uses his finger to rewrite the letter on salt or cornmeal. He loved this exercise and repeated it daily.
If you can, make sure to include your younger child while you work with your older one. Our 15-month-old Titus, who usually sits across from Micah during work time, started repeating some of the sounds that his brother has been reciting (example: mmm for “m”). It was exciting to hear him mimic these letter sounds accurately even at such an early age.
A. Our first attempt was with salt. He loved the texture and did it for a few days. He tried tracing some letters with a pen too. It was very creative and allowed him to practice his pincer grip as well. 🙂


B. We then used coffee beans! After I sounded out the letter, his job was to circle the corresponding sound (e.g. when I sounded out the letter “a” he then circled the letter “a” — see below). He found this “game” really fun and wanted to do it over and over. He then started calling out the sounds and circling the letters himself after awhile. It was quite entertaining.

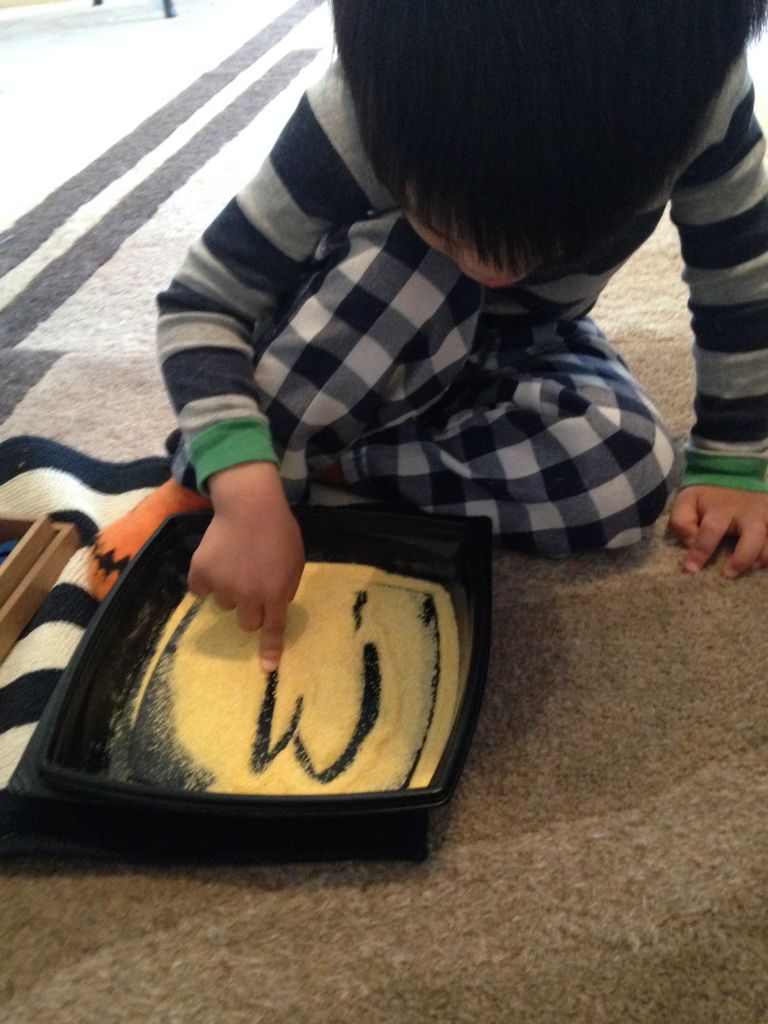
C. Cornmeal has so far been the favorite. Not only has he asked to work with it the most — probably because of its smooth texture — but it also did not stick to his fingers.
He took initiative to work on this repeatedly. He traced the letters “s” and “t” because they were the most recent letters and sounds that he had learned. He told me he wanted to practice writing them and got the cornmeal tray on his own. He worked on this independently for over 30 minutes, repeating the process all on his own. After he was done, he decided to try “x” because it was “more fun.”


On another morning, he starting practicing each letter of his name independently. He started with “M” and practiced it a couple of times before moving on to “i-c-a-h.” He had the most difficulty with “a.”


*Having a shallow pan with a thin layer of cornmeal, salt or coffee beans is a perfect way to practice writing. A quick shake of the pan “erases” the letter or numeral. Using an unsharpened pencil to write the numerals in the cornmeal, salt or coffee beans adds a challenge of using a writing instrument, making the activity even more valuable.
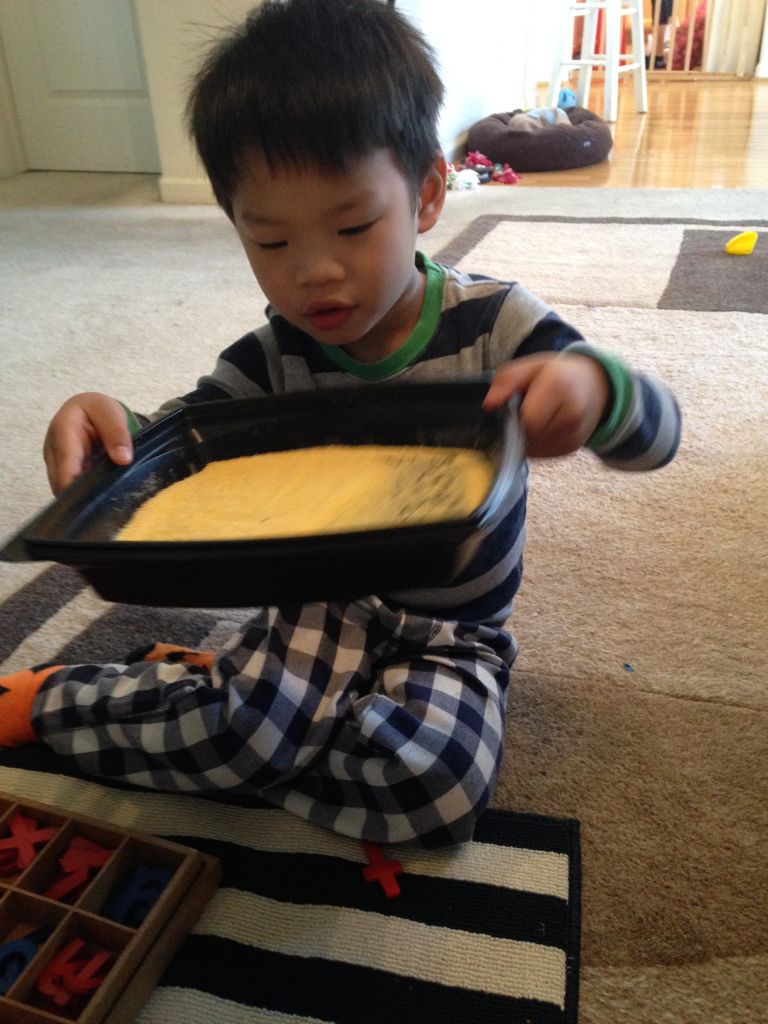
quick shake=ERASE! 🙂
E. Shaving Cream!
This is by far the most fun for me. I thought it was great to make learning fun and messy! Micah isn’t a big fan of getting his hands dirty, so it took him awhile to get used to it but in the end, he had a blast! (Sorry, it was really hard to get pictures of the other letters because I was having fun “erasing” them; and my hands were covered in shaving cream).


2. Name Tracing
Materials: highlighter, lined paper, a different colored Sharpie
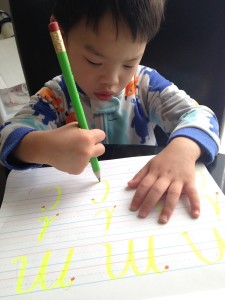
I write each letter individually using a highlighter and place a dot to indicate a starting point. The dot serves as a guide to foster independence (meaning I don’t have to constantly remind him — haha). Begin by making the letters big and as the child advances, mix in numbers and full words. This is a great handwriting helper tool too! 🙂


3. Dabbers/Dot Markers

I bought this set from the clearance aisle at Jo-Ann’s Fabric Store for $6.50. Michael’s sells it too but I’m not sure how much. Amazon also sells a different brand which is a bit more pricy but it works similarly. They are basically Bingo markers.
For this activity, I wrote out the letters “M-i-c-a-h” on different sheets of paper using a highlighter. He then used the markers to make dots on each space and covered the highlighted area — essentially “rewriting” the letter. As he was working, he realized he shouldn’t apply too much pressure as he pressed down or else too much paint would come out, creating a “wet spot.” After a few tries, he learned to control his grip, exercise appropriate muscle strength and control his hands, allowing just enough strength to make the perfect dot. This exercise kept him busy for quite a while. He even asked to continue with the other letters that he had learned.

too much pressure= too much paint


*Twisting the cap on and off is a great exercise for their little fingers as well! 🙂

A few days later, he asked to do this activity (see below) spelling out his entire name on one sheet of paper. It was exciting to see that he enjoyed this activity so much that he wanted to repeat it again on another day.

***I highly recommend investing in the Movable Alphabet. It is a great way to encourage your child to practice spelling, writing and in a sense reading in a fun and non-threatening way. It is used constantly in our home (and in a montessori classroom) and has shown great potential to encourage children to express words in a fun and educational manner. More importantly you can use so many household items to reinforce the lessons.
Happy Learning!


I noticed that you used a striped rug. Was that on purpose?
It just looks neater. 🙂 It reminds him to keep the letters on the same line. 🙂
hi! do you recommend using uppercase or lowercase letters first?
I use and was taught in training to teach lower case first 🙂 I introduce the sounds of the letters the my boys in lower case 🙂
Great Blogpost thank you for sharing.